
This tutorial is written in PSP x8

This tutorial is written in PSP x8
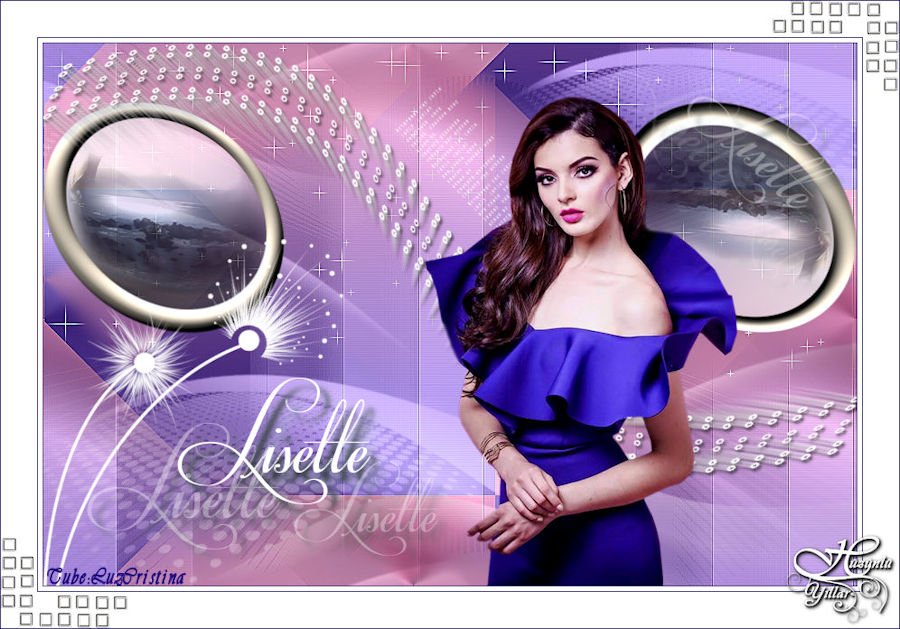
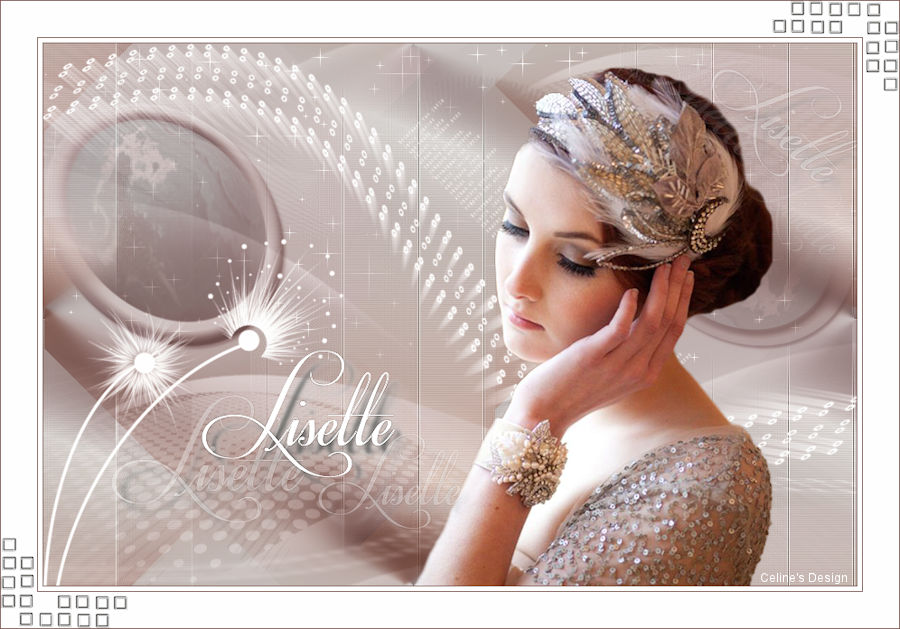
Tube: Luz Cristina
Link
Plugins
Filters Unlimited 2.0 – VM Elisablaze
Mehdi – Sorting Tiless
Alien Skin Eye Candy : 5 Impact – Perspective Shadow
User Defined Filter – Emboss 3
Mask : cas_Mask_1015_01
Text : Seyranca
Thank you very much for the translation
Angela
 Thank you very much for the translation
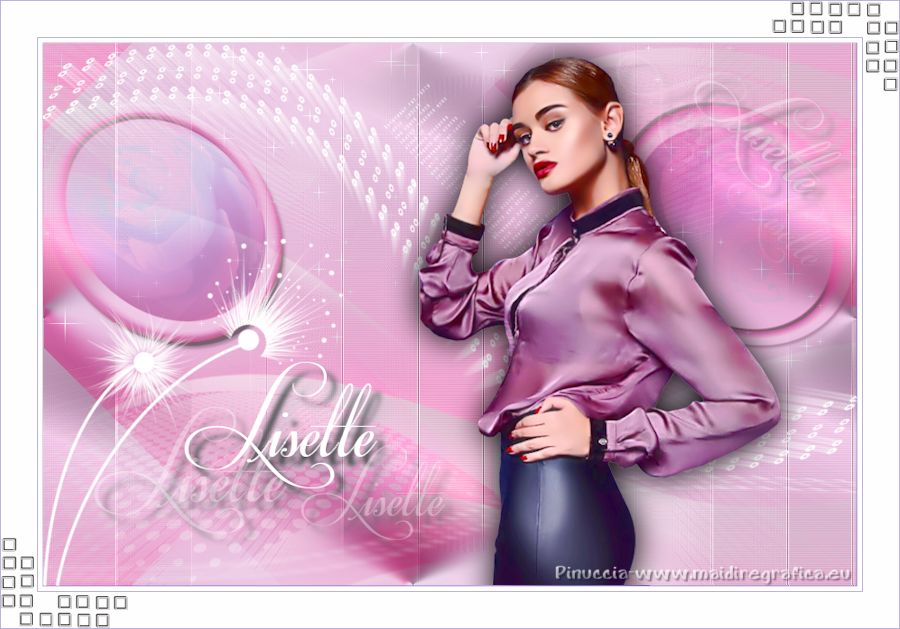
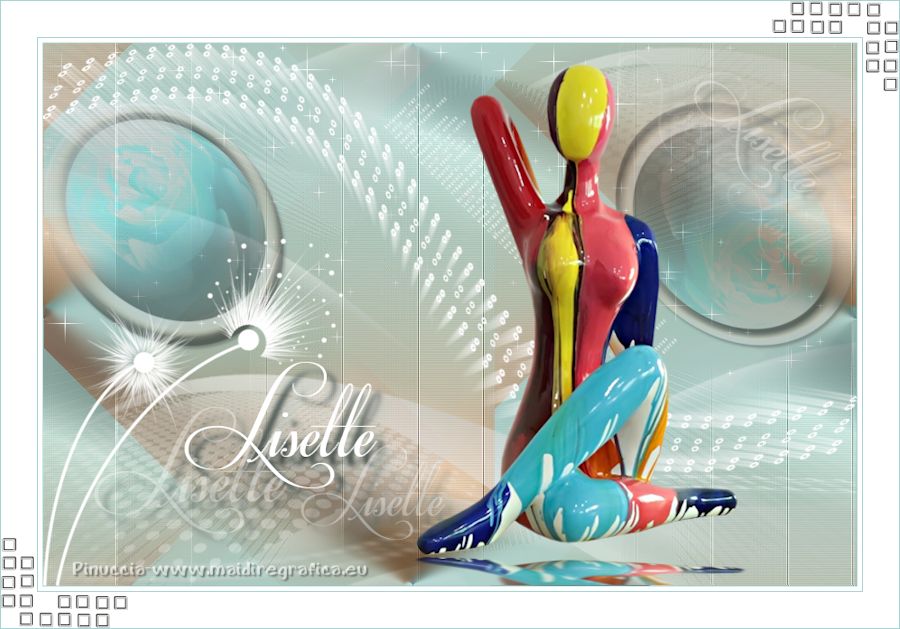
Pinuccia
Thank you very much for the translation
Pinuccia
 Thank you very much for the translation
Pinuccia
Thank you very much for the translation
Pinuccia


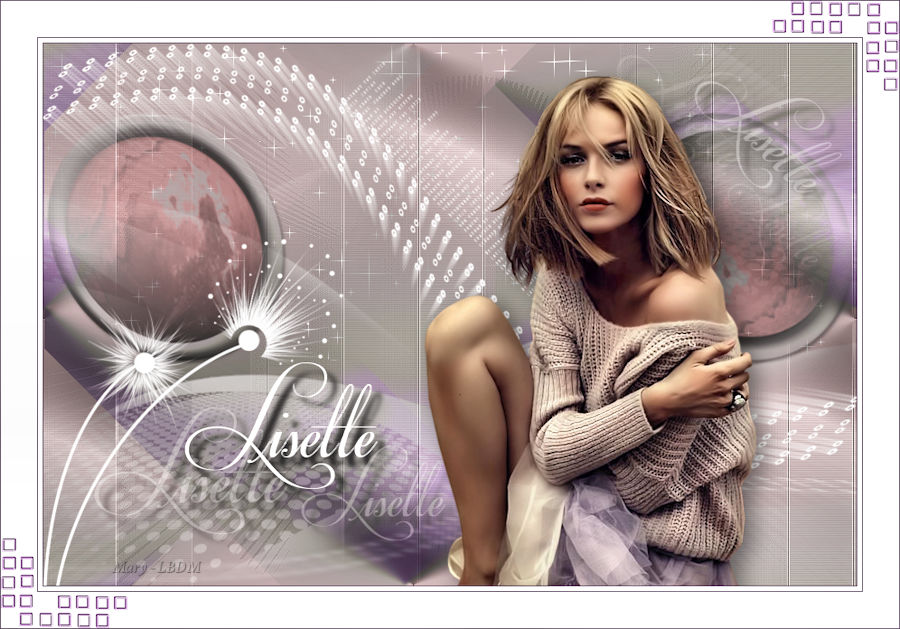
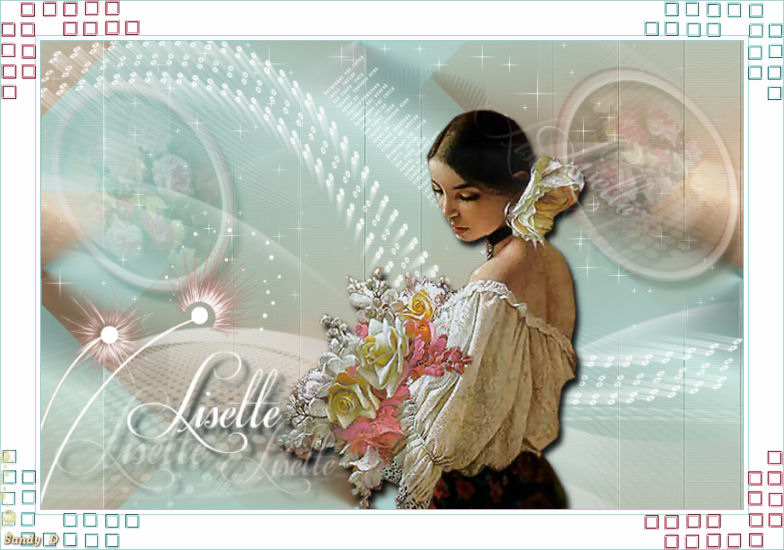
Lisette Download
Preparation:
Choose a light and a dark color from your tube
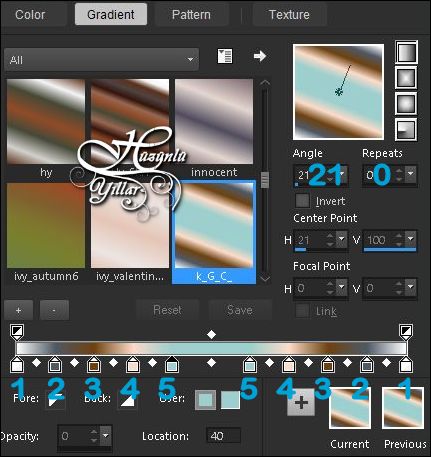
Properties Foreground; set your Foreground color to #FFFFFF
Properties Background; set your Background color to #4f5966
#FFFFFF #4f5966 #6e4211 #fbdbc8 #9dcfce
Properties foreground: Make a foreground- background Gradient of these two colors
Note: When working with your own colors, play with the Blend Mode and/or Opacity at your own discretion
1-File / New - Open 900 x 600 Transparent Image
Flood fill - Fill With your Gradient 
 2-Adjust - Blur – Gaussian Blur
  3-Layers – Duplicate
Close the top layer, let's continue from the bottom layer
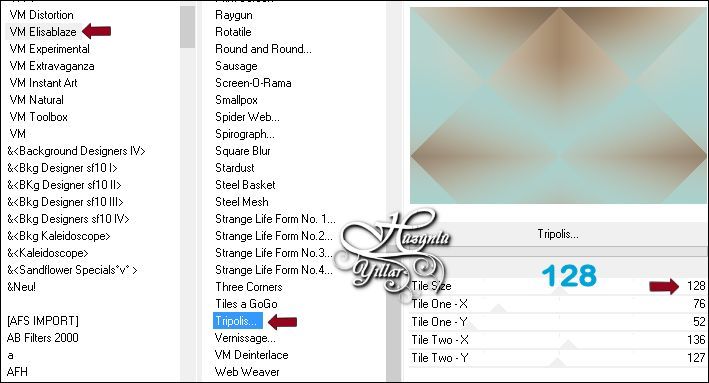
4-Filters Unlimited 2.0 – VM Elisablaze - Tripolis
3-Layers – Duplicate
Close the top layer, let's continue from the bottom layer
4-Filters Unlimited 2.0 – VM Elisablaze - Tripolis
5-Effects – Edge Effects – Enhance
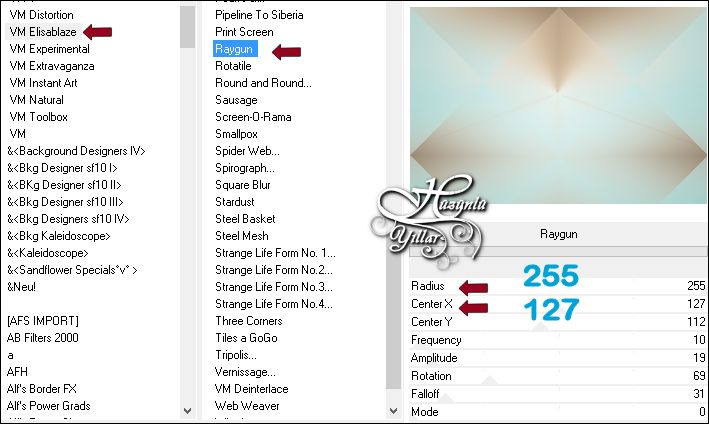
6-Filters Unlimited 2.0 – VM Elisablaze – Raygun
Clik On The Top Layers
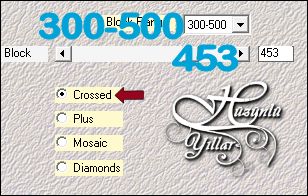
7-Effects – Mehdi – Sorting Tiless
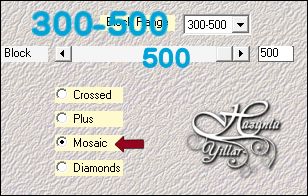 8-Effects – Mehdi – Sorting Tiless
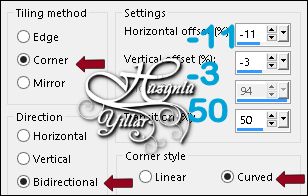
 9-Effects – Image effects – Seamless tiling
 Layer Palette - Double click on this Layer and set the Blend Mode to "Soft Light"
10-Layers – Merge – Merge Down
11-Selections - Load/Save Selections - Load Selection From Disk – Hy_Lisette_Sell
12-Effects – VM Naturel – Sparkle
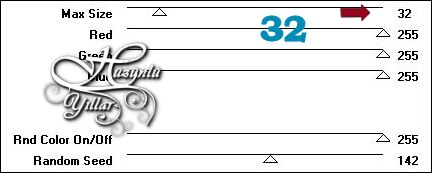
13-Edit Repeat Sparkle – Max Size - 13
14-Selections – Select None
15-Open - Hy_Lisette_Tube_Deko - Hy_Lisette_Deko
Edit / Copy
activate your work
16-Edit / Paste as New Layer Layers
17-Effects – Edge Effects – Enhance
Layer Palette - Double click on this Layer and set the Blend Mode to "Soft Light"
18-Layers – New Laster Layer
Flood fill - Fill With your Foreground color #FFFFFF
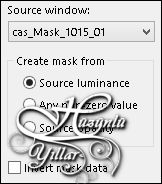
19-Open – Hy_Lİsette_Mask – cas_Mask_1015_01
20-Layers - New Mask Layer - From Image – cas_Mask_1015_01
21-Layers - Merge - Merge Group
Layer Palette - Double click on this Layer and set the Blend Mode to "Soft Light"
22-Layers – Duplicate
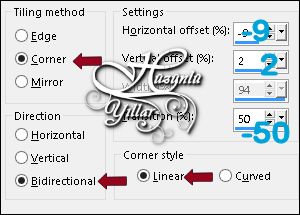
23-Effects – Image Effects – Seamless Tiling
 Layer Palette - Double click on this Layer and set the Blend Mode to Luminance(Legacy)Opacity 65
24-Layers – New Laster Layer
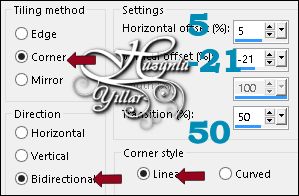
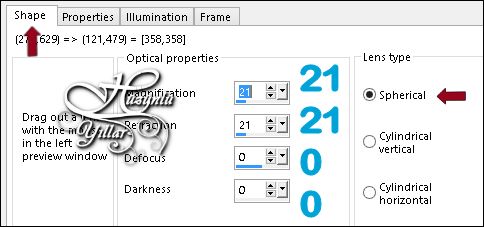
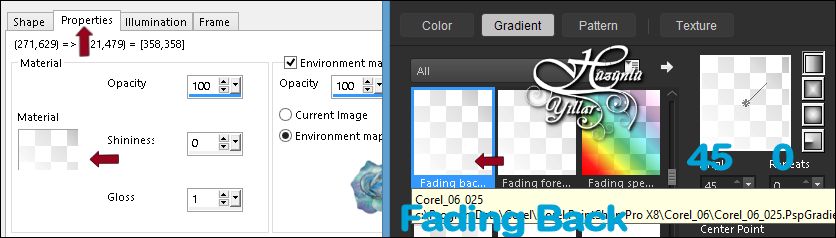
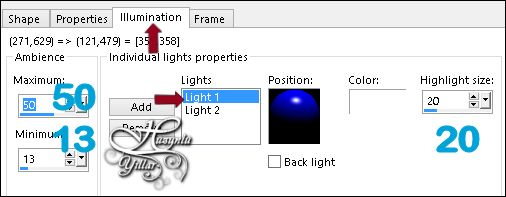
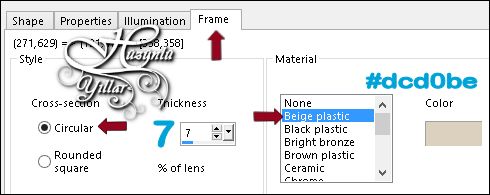
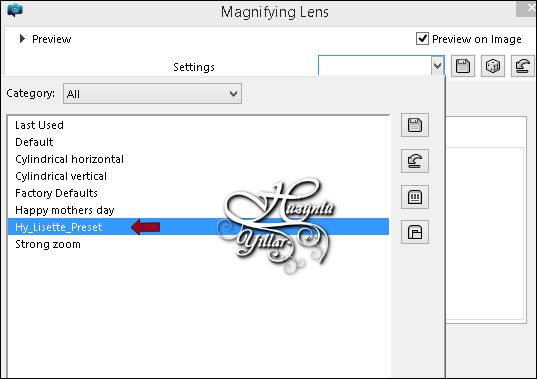
25-Effects - Artistic Effects – Magnifying Lens
Note: If you want to use your own tube, before you follow these steps, you need to put the tubes you want to use into your Environment Maps folder,then set file preferences in your program and follow the steps below.

 Note: if you want to use Preset in the Preset folder (Preset_MagnifyingLens_Hy_Lisette_Preset)You only have enough to choose from here
Activate Pick Tool with these settings

Layer Palette - Double click on this Layer and set the Blend Mode to Hard Light Opacity 63
26-Layers – Duplicate
27-Image – Mirror – Mirror Horizontal
28-Image – Flip – Flip Vertical
29-Layers – Merge – Merge Down
Layer Palette - Double click on this Layer and set the Blend Mode to Normal Opacity 61
30-Alien Skin Eye Candy : 5 Impact – Perspective Shadow – Hy_Lisette_PerpectiveShadow
31-Open – Hy_Lisette_Tube_Deko – Hy_Lisette_deko_1
Edit / Copy
activate your work
32-Edit / Paste as New Layer
33-Effects – Edge Effects - Enhance
34-Effects – Image Effects – Seamless Tiling
Layer Palette - Double click on this Layer and set the Blend Mode to Luminance ( Legacy )
35-Layers – New Raster Layer
36-Brus Tool  Look for Hy_Lisette_Brus
Place your brush with your foreground color WHITE [left mouse button] on your layer
Look for Hy_Lisette_Brus
Place your brush with your foreground color WHITE [left mouse button] on your layer
 37-Open – Hy_Lisette_Tube_Deko – Hy_Lisette_Deko_2
Edit / Copy
activate your work
38-Edit / Paste as New Layer
39-Activate Pick Tooland
37-Open – Hy_Lisette_Tube_Deko – Hy_Lisette_Deko_2
Edit / Copy
activate your work
38-Edit / Paste as New Layer
39-Activate Pick Tooland  place it like this
  40-Open – Hy_Lisette_Tube_Deko – Hy_Lisette_Deko_3
Edit / Copy
activate your work
41-Edit / Paste as New Layer
42-Activate Pick Tooland place it like this
40-Open – Hy_Lisette_Tube_Deko – Hy_Lisette_Deko_3
Edit / Copy
activate your work
41-Edit / Paste as New Layer
42-Activate Pick Tooland place it like this 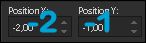 43-Alien Skin Eye Candy : 5 Impact – Perspective Shadow – ( Hy_Lisette_PerpectiveShadow_1 )
44-Open – Hy_Lisette_Tube_Deko – 4962-Luzcristina
Edit / Copy
activate your work
45-Edit / Paste as New Layer
46-Activate Pick Tooland place it like this
43-Alien Skin Eye Candy : 5 Impact – Perspective Shadow – ( Hy_Lisette_PerpectiveShadow_1 )
44-Open – Hy_Lisette_Tube_Deko – 4962-Luzcristina
Edit / Copy
activate your work
45-Edit / Paste as New Layer
46-Activate Pick Tooland place it like this  47-Alien Skin Eye Candy : 5 Impact – Perspective Shadow – ( Hy_Lisette_PerpectiveShadow_1 )
48-Open – Hy_Lisette_Tube_Deko – Hy_Lisette_Text
Edit / Copy
activate your work
49-Edit / Paste as New Layer
50-Activate Pick Tooland place it like this
47-Alien Skin Eye Candy : 5 Impact – Perspective Shadow – ( Hy_Lisette_PerpectiveShadow_1 )
48-Open – Hy_Lisette_Tube_Deko – Hy_Lisette_Text
Edit / Copy
activate your work
49-Edit / Paste as New Layer
50-Activate Pick Tooland place it like this  51-Image - Add Borders - Symmetric, 1 pixel, color #9dcfce
52-Image - Add Borders - Symmetric, 5 pixel, color #ffffff
53-Image - Add Borders - Symmetric, 1 pixel, color #9dcfce
54-Image - Add Borders - Symmetric, 40 pixel, color #ffffff
55-Image - Add Borders - Symmetric, 1 pixel, color #9dcfce
56-Open – Hy_Lisette_Tube_Deko – Hy_Lisette_Deko_4
Edit / Copy
activate your work
57-Edit / Paste as New Layer
Put Your Watermarkt
Image – Resize 900+600
Save JPEG
51-Image - Add Borders - Symmetric, 1 pixel, color #9dcfce
52-Image - Add Borders - Symmetric, 5 pixel, color #ffffff
53-Image - Add Borders - Symmetric, 1 pixel, color #9dcfce
54-Image - Add Borders - Symmetric, 40 pixel, color #ffffff
55-Image - Add Borders - Symmetric, 1 pixel, color #9dcfce
56-Open – Hy_Lisette_Tube_Deko – Hy_Lisette_Deko_4
Edit / Copy
activate your work
57-Edit / Paste as New Layer
Put Your Watermarkt
Image – Resize 900+600
Save JPEG
 Thank you so much for the version of angela
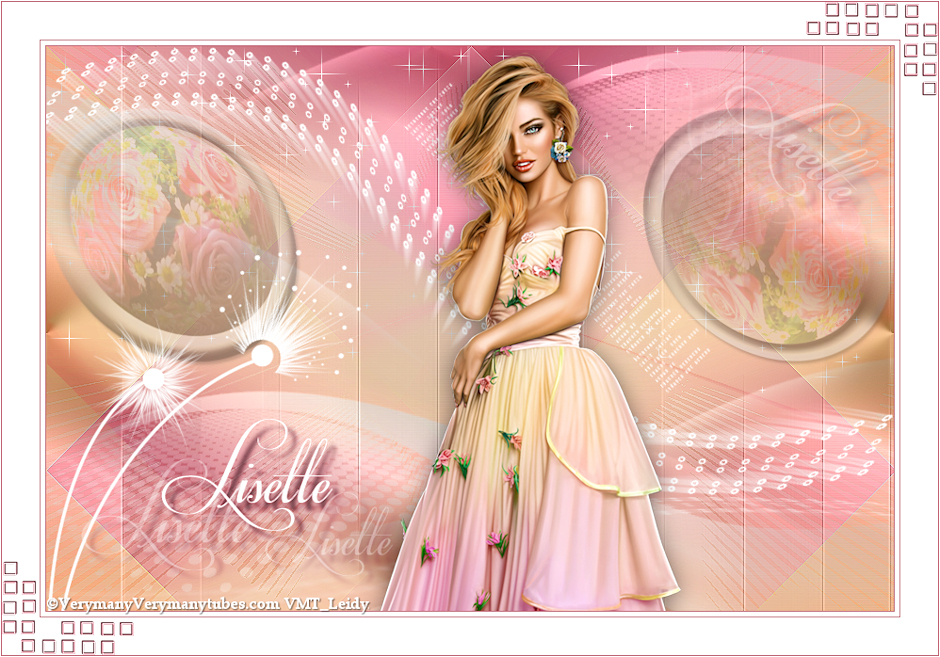
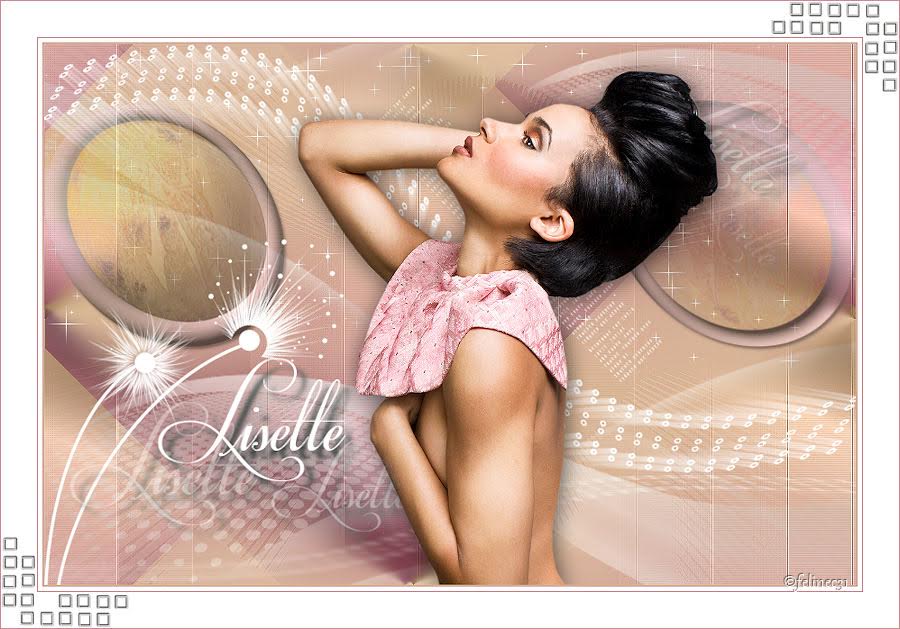
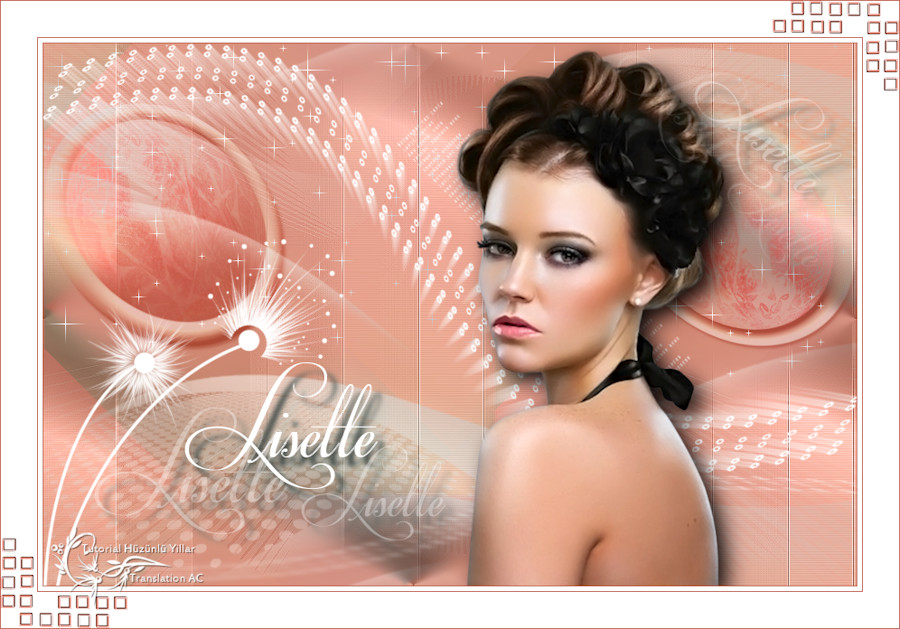 Thank you so much for the version of Pinuccia
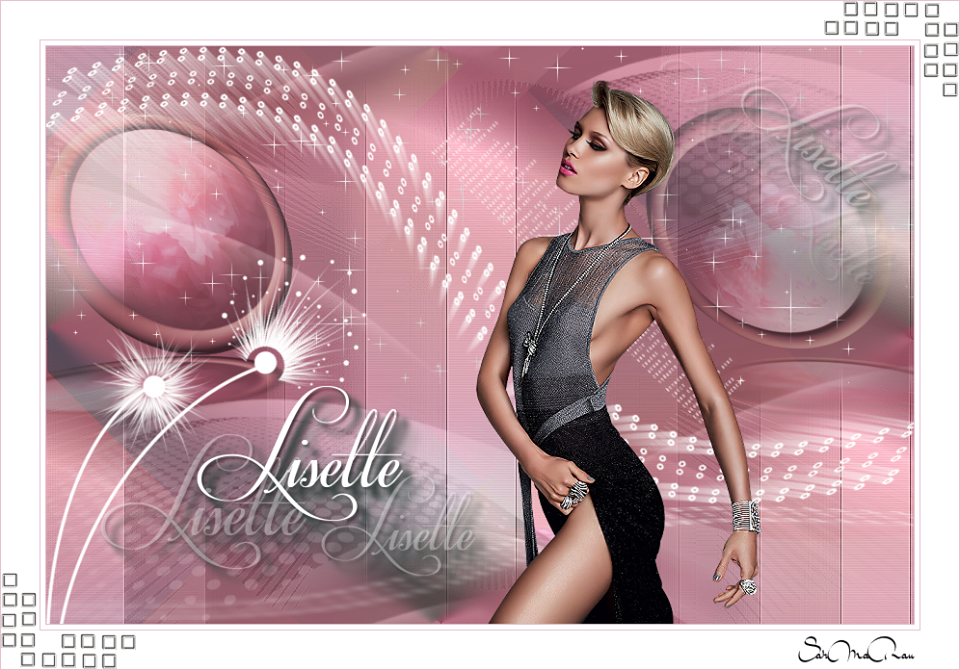
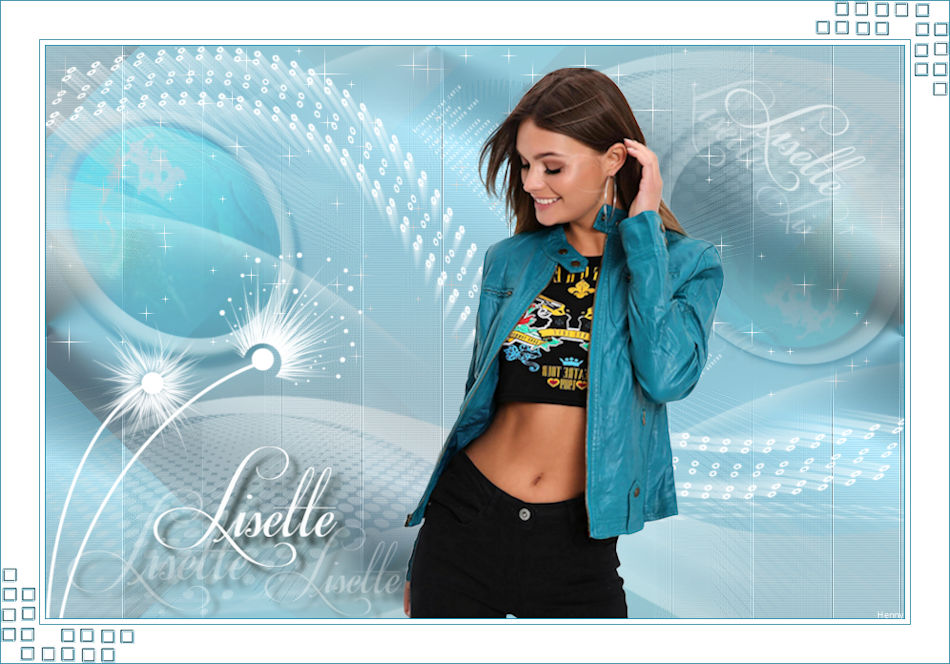
 Thank you so much for the version of Aslı
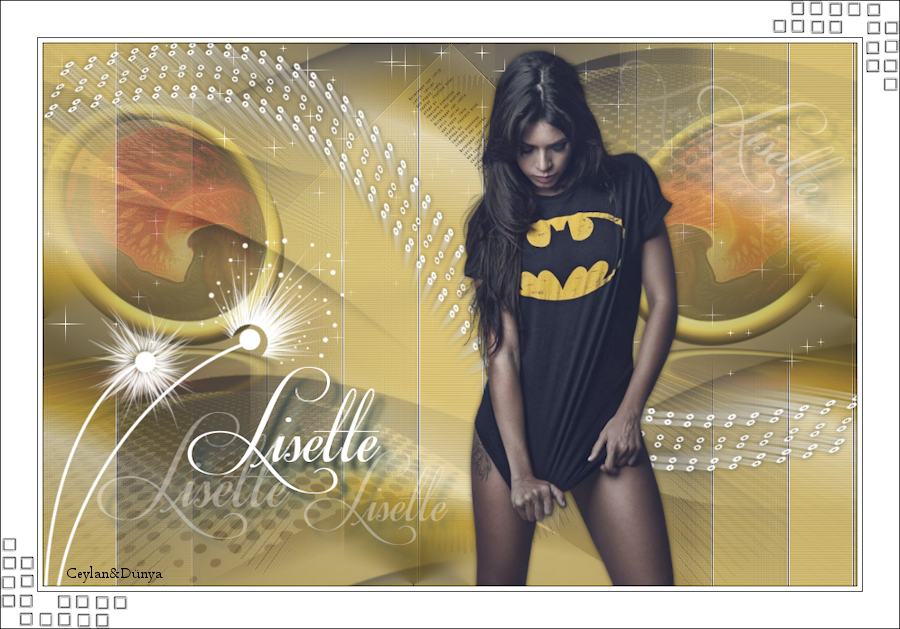
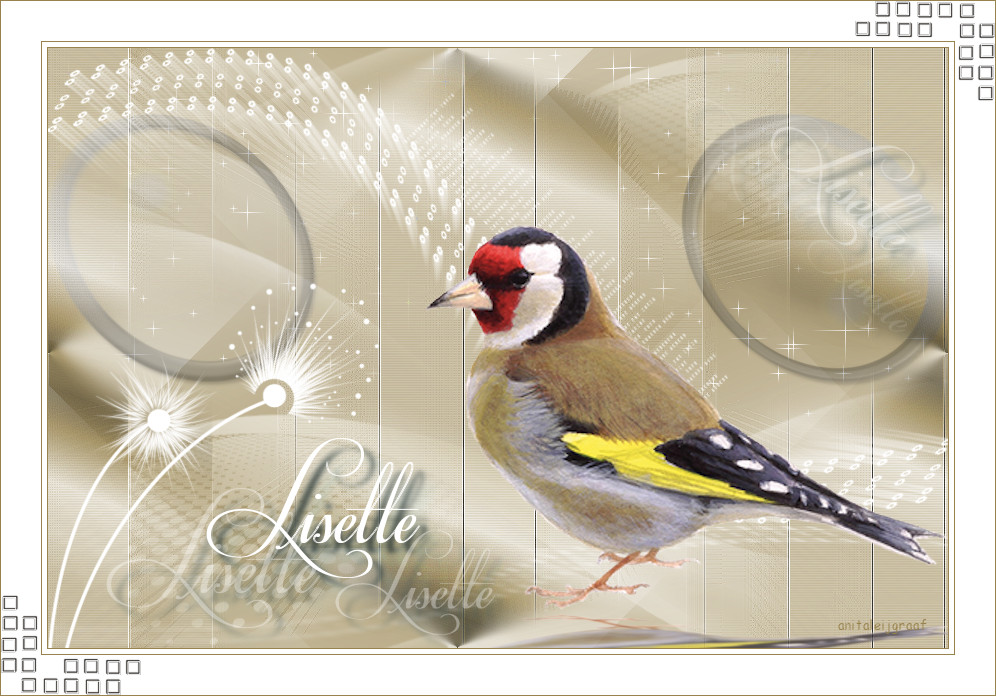
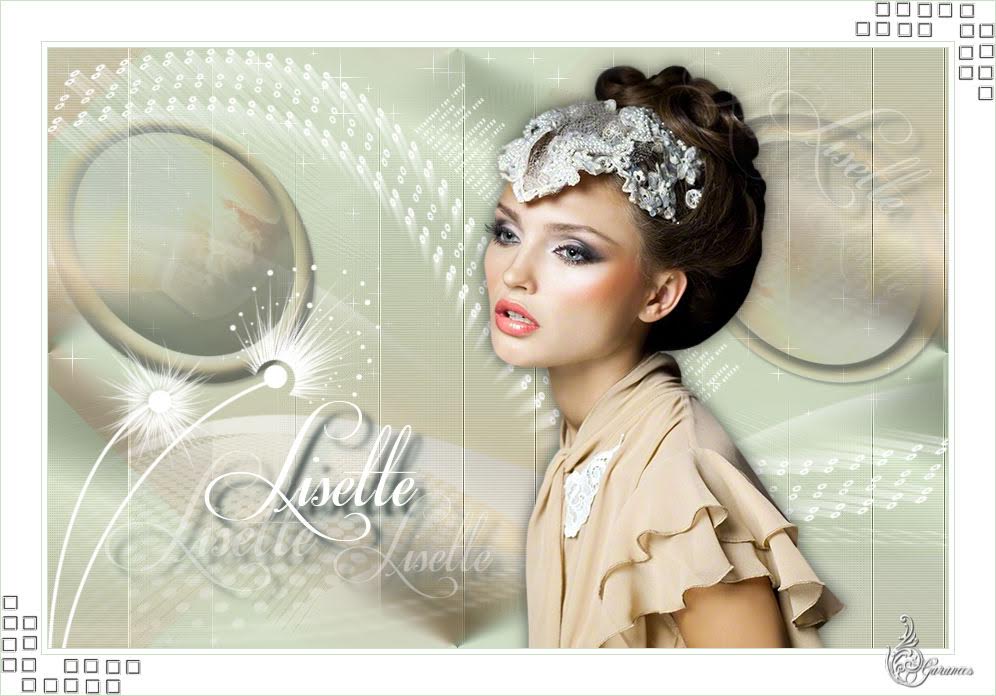
 Thank you so much for the version of Ceylan
 Thank you so much for the version of Seyran
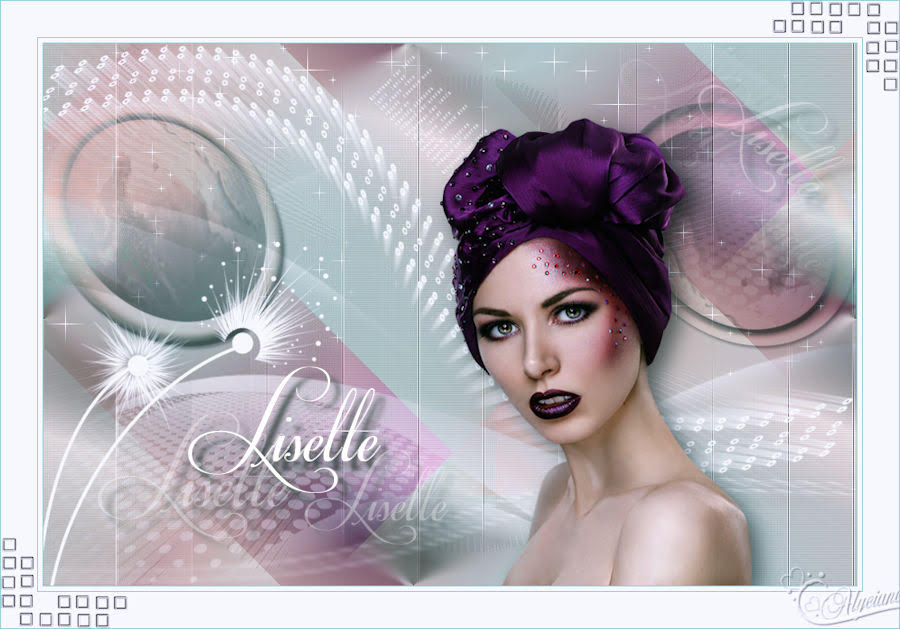
 Thank you so much for the version of Aynur
 Thank you very much for the great versions
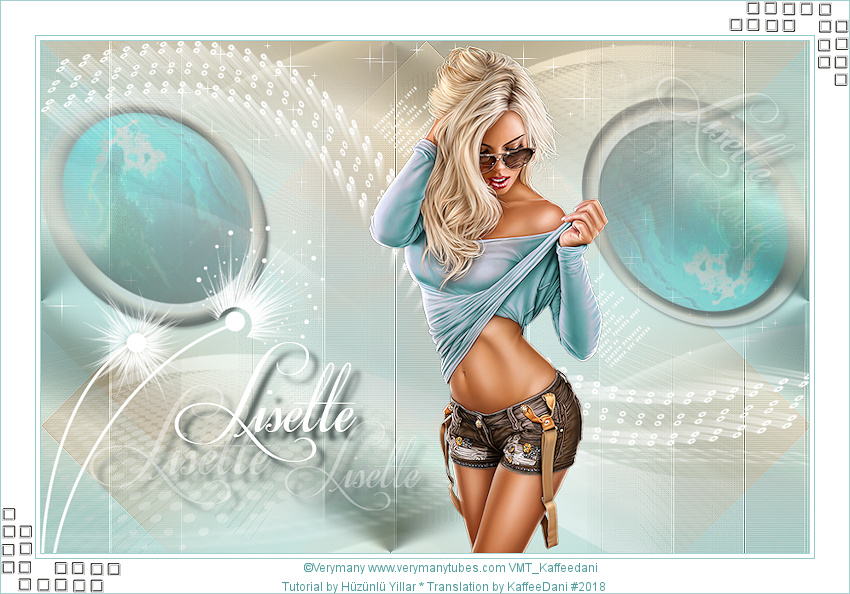
Hüzünlüyıllar
Thank you very much for the great versions
Hüzünlüyıllar


place it like this place it like this place it like this place it like this
Hiç yorum yok:
Yorum Gönder