
Thank you very much for the translation
Angela

Thank you very much for the translation
Pinuccia

Thank you very much for the translation
Pinuccia


Simple
Mehdi
Effects - Alien Skin Eye Candy : 5 Impact
Text
Aslı/Şahmaran
Download
Note:You can use the color you want by playing the settings from these two places, the settings are examples.


Caution, no tick mark in colorize
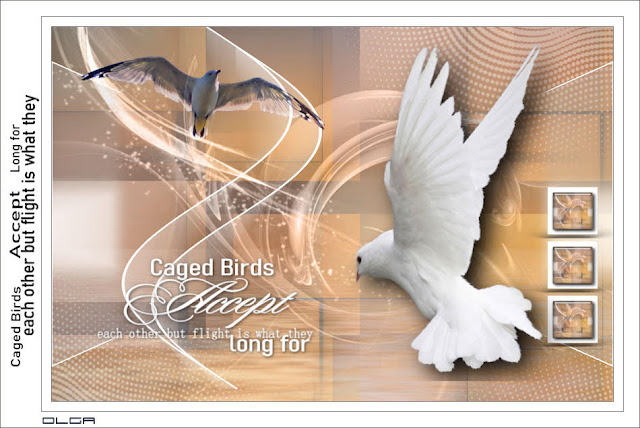
Preparation:
Choose a light and a dark color from your tube
Properties Foreground; set your Foreground color to #c29872
Properties Background; set your Background color to #444854
Properties foreground: Make a foreground- background Gradient of these two colors
Note: When working with your own colors, play with the Blend Mode and/or Opacity at your own discretion
File / New - Open 900 x 600 Transparent Image
Selections - Select All
Open – Hy-Image Backgraund - Hy_Bird_Backgraund
Edit / Copy
Activate your work
Edit - Paste into selections
Selections - Select None
Layera - Duplicate ( 3 Times )
Let's close 2 eyes and continue from the bottom layer


Let's open Copy Of Raster 1 eye and continue from there
Effects - Image Effects - Seamless Tling

Layers - Load/Save Mask - Load Mask From Disk 20 - 20

Effects - Mehdi - Sorting Tiles

Layer Palette - Double click on this Layer and set the Blend Mode to "Multiply"Opacity 75
Let's open Copy (2) of Raster 1 and continue

Effects - Simple - Half Wrap
Effects - Mehdi - Sorting Tiles

Layers - New Raster layer
Fill with Foreground with Flood Fill #FFFFFF
Open - Hy Mask - 1250181214_nikita_masques
Layers - New Mask Layer - From Image – 1250181214_nikita_masques

Layer Palette - Double click on this Layer and set the Blend Mode to "Luminance(Legacy)"
Effects - Alien Skin Eye Candy : 5 Impact - perspective Shadow Hy_Bird_Pers-show
Layers - New Raster layer
Fill with Foreground with Flood Fill #FFFFFF
Open - Hy Mask - NarahsMasks_1622
Layers - New Mask Layer - From Image – NarahsMasks_1622

Layers - Merge - Merge Group
Image - Mirror Mirror Horizontal
Layer Palette - Double click on this Layer and set the Blend Mode to "Soft Light"
Layer Palette - Double click on this Layer and set the Blend Mode to "Soft Light"
Layers - New Raster layer
Fill with Foreground with Flood Fill #FFFFFF
Open - Hy Mask - NarahsMasks_1683
Layers - New Mask Layer - From Image – NarahsMasks_1683

Layers - Merge - Merge Group
Activate Pick Tool  and place it like this
and place it like this
Open – Hy- Deko - Hy_Bird_Deko
Edit / Copy
Activate your work
Edit / Paste as New Layer
Open – Hy- Deko - Hy_Bird_Deko_1
Edit / Copy
Activate your work
Edit / Paste as New Layer
Activate Pick Tool and place it like this
and place it like this
Open – Hy- Deko - Hy_Button_Sell
Note:Caution, no tick mark in colorize
Enter the HSL settings of the colors you use

exemplary

Selections - Select None
Edit / CopyActivate your work
Edit / Paste as New Layer
Activate Pick Tool and place it like this
and place it like this
Open – Hy- Tube - 12286689961_animaux-Nikita
Edit / Copy
Activate your work
Edit / Paste as New Layer
Image - Mirror - Mirror Horizontal
Image - Resize %75
Activate Pick Tool and place it like this
and place it like this
File_Open - Hy_Text - Hy_Bird_Text
Edit / Copy
activate your work
Edit / Paste as New Layer
Activate Pick Tool and place it like this
and place it like this
Image - Add Borders - Symmetric, 1 pixel, color #444854
Image - Add Borders - Symmetric, 15 pixel, color #ffffff
Image - Add Borders - Symmetric, 1 pixel, color #444854
Image - Add Borders - not symmetrical

File_Open - Hy_Text - Hy_Bird_Text_1
Edit / Copy
activate your work
Edit / Paste as New Layer
Activate Pick Tool and place it like this
and place it like thisImage - Resize 900
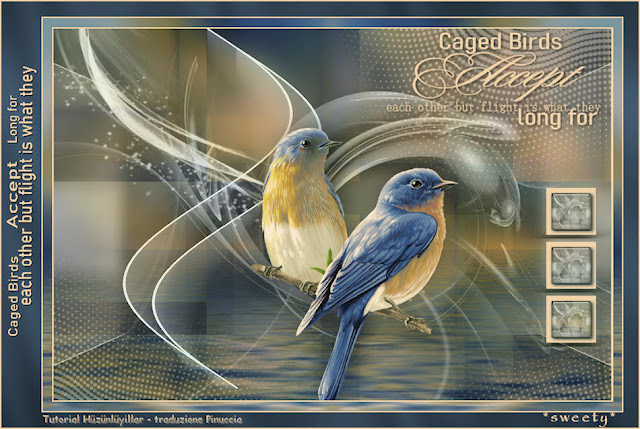
Save JPEG
Save JPEG


Many thanks to my translators.


Hiç yorum yok:
Yorum Gönder