
This tutorial is written in PSP x8
Nederlandse vertaling door Lisette

Bedankt voor de mooie vertaling Angela

Danke für die Deutsch Übersetzung Daniela / Kaffee Dani's Tutorialkiste


Merci pour la traduction Française Punnicia


LB Tubes
Kantaroğlu
Plugins
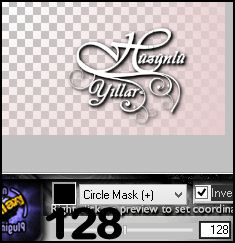
Plugin Galaxy – Alpha Tool
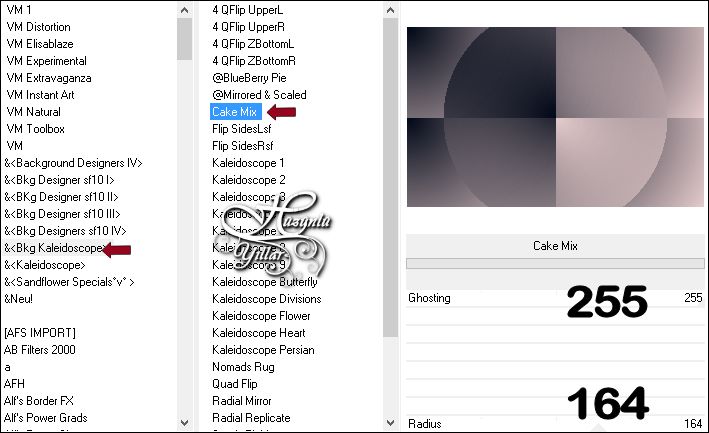
Filters Unlimited 2.0 – Bkg Kaleidoscope – Cake Mix
Mehdi – Weaver
Flaming Pear – Flexify2
Toadies – Weaver
Mask
Hüzünlüyıllar
Narah_mask_0183

Preparation:
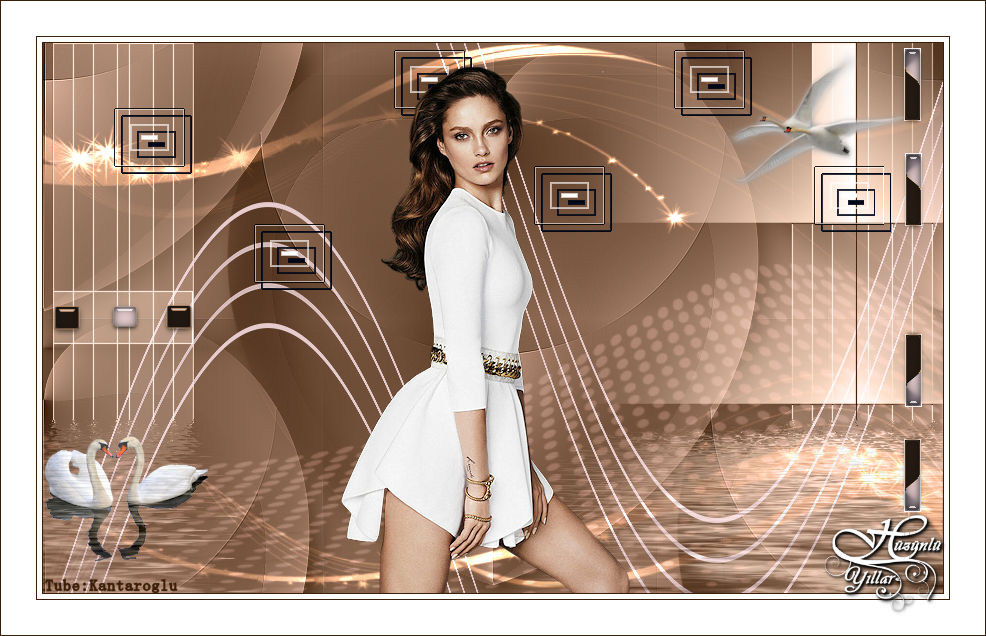
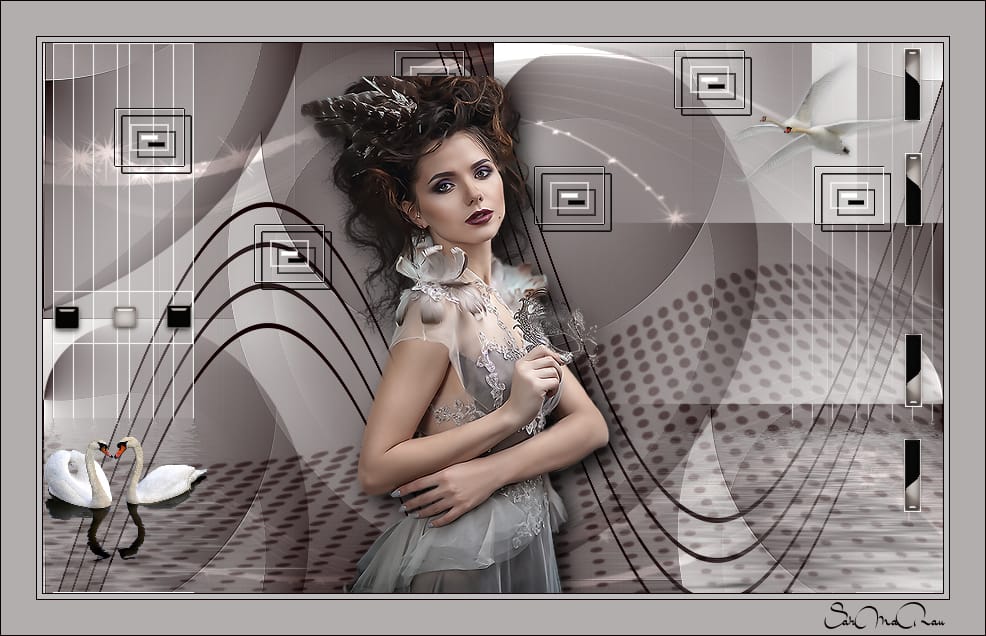
Choose a light and a dark color from your tube
Properties Foreground; set your Foreground color to #000716
Properties Background; set your Background color to #e6cccd
#000716 #e6cccd #FFFFFF #000000

Properties foreground: Make a foreground- background Gradient of these two colors
Note: When working with your own colors, play with the Blend Mode and/or Opacity at your own discretion
1. File / New - Open 900 x 550 Transparent Image
2. Flood fill - Fill With your Foreground color #000716


3. Layers – New Raster Layer
4. Flood fill - Fill With your Background color #e6cccd

5. Effects – Plugins – Plugin Galaxy – Alpha Tool
6. Layers - Merge - Merge Visible
7. Filters Unlimited 2.0 – Bkg Kaleidoscope – Cake Mix
8. Effects – Edge Effects – Enhance
9. Layers – Duplicate
Close the upper layer eye
Activate Layer ( Merged )
10-Effects – Mehdi – Weaver
Open the top layer
Activate Layer ( Copy Of Merged )
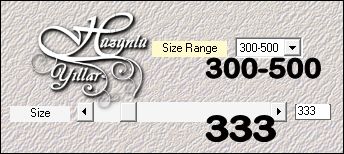
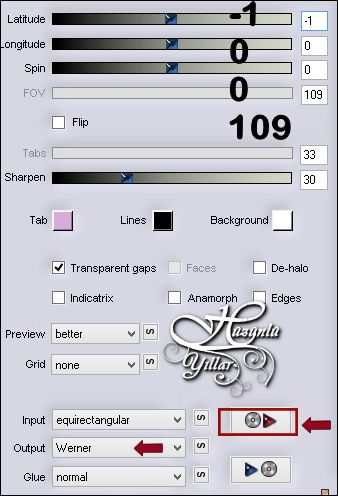
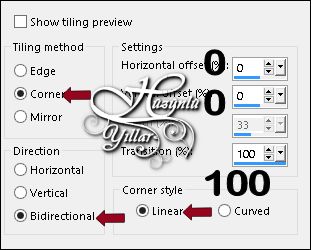
11-Effects – Flaming Pear – Flexify2
12-Adjust – Sharpness – Sharpen
13- Effects - Image Effects - Seamless Tiling
14-Layers – New Raster Layer
15-Selections - Load/Save Selections - Load Selection From Disk - Hy_Be Like A Swan Sell
Flood fill - Fill With your Background color #e6cccd
16-Selections – Select None
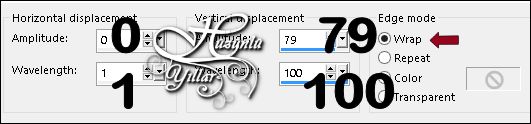
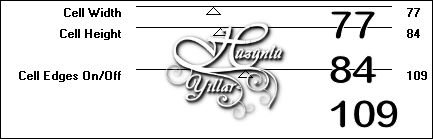
17-Effects – Distortion Effects – Wave
18-Selections - Load/Save Selections - Load Selection From Disk - Hy_Be Like A Swan Sell_1
Press The Delete Key On Your Keyboard
19-Seletions – Select None
20-Layers – New Raster Layer
Flood fill - Fill With your Background color #e6cccd
21-Open - Be Like A Swan_Mask - huzunluyıllar_1

22-Layers - New Mask Layer - From Image – huzunluyıllar_1
23-Layers - Merge - Merge Group
Layer Palette - Double click on this Layer and set the Blend Mode to Dodge Opacity 69
24- Layers – New Raster Layer
Flood fill - Fill With your Background color #e6cccd
25-Open - Be Like A Swan_Mask – Narah_mask_0183
26-Layers - New Mask Layer - From Image – Narah_mask_0183
27-Layers - Merge - Merge Group
Layer Palette - Double click on this Layer and set the Blend Mode to Soft Light
28-Layers – Arrange – Move Down
Activate your work ( Group - Raster 2 )
29- Layers – New Raster Layer
30-Selections - Load/Save Selections - Load Selection From Disk - Hy_Be Like A Swan Sell_2
Flood fill - Fill With your Background color #FFFFFF
31-Selections – Select None
32-Layers – New Raster Layer
33-Selections - Load/Save Selections - Load Selection From Disk - Hy_Be Like A Swan Sell_3
You can enlarge your image with Zoom Tool, in order to flood fill the selection easier. Remember to change Zoom back to 100.
Flood fill - Fill With your Background color #FFFFFF
34-Selections – Select None
35- Layers – Merge – Merge Down
36-Layers – New Raster Layer
37-Selections - Load/Save Selections - Load Selection From Disk - Hy_Be Like A Swan Sell_4
You can enlarge your image with Zoom Tool, in order to flood fill the selection easier. Remember to change Zoom back to 100.
Flood fill - Fill With your Background color #FFFFFF
38-Selections – Select None
39- Layers – New Raster Layer
40-Selections - Load/Save Selections - Load Selection From Disk - Hy_Be Like A Swan Sell_5
Flood fill - Fill With your Background color #FFFFFF
41-Selections – Select None
42-Layers - Merge – Merge Down
43-Edit – Repeat Layer Merge Down
44-Layers – Duplicate
45- Image - Mirror – Mirror Horizontal
46-Effects – Toadies – Weaver
Layer Palette - Double click on this Layer and set the Blend Mode to Luninance (Legacy) Opacity 73
47- Layers - Merge – Merge Down
48-Effects – Flaming Pear – Flood

49-Open - Be Like A Swan_Deko – Hy_Be Like A Swan_Deko
50- Edit / Copy
Activate your work
51-Edit / Paste as New Layer
Activate Pick Tooland
 place it like this
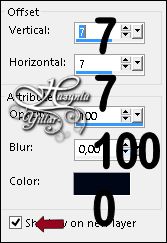
52- Effects – 3D Effects – Drop Shadow 7 / 7 / 100 / 0 #000000
53- Open - Be Like A Swan_Deko – Hy_Be Like A Swan_Bird
54- Edit / Copy
Activate your work
55-Edit / Paste as New Layer
56-Image – Resize – 40%
Activate Pick Tooland
place it like this 
57-Layers – Arrange – Move Down
58-Edit – Repeat Move Layer Down
Activite Top Layer ( Raster 3 Shadow 1 )
59- Open - Be Like A Swan_Deko – Hy_Be Like A Swan_Bird_1
Edit / Copy
Activate your work
60-Edit / Paste as New Layer
61-Image – Resize – 40%
Activate Pick Tooland
place it like this 
62-Open - Be Like A Swan_Deko – Hy_Be Like A Swan_Deko_1
Edit / Copy
Activate your work
63-Edit / Paste as New Layer
Activate Pick Tooland
place it like this 
64- Open - Be Like A Swan_Deko – Hy_Be Like A Swan_Deko_2
Edit / Copy
Activate your work
65-Edit / Paste as New Layer
Activate Pick Tooland
place it like this 
66-Open - Be Like A Swan_Tube – Hy_Be Like A Swan_ LB Tubes
67-Edit / Copy
Activate your work
68-Edit / Paste as New Layer
Move Tool - Place it with the Move Tool

69- Image - Add Borders - Symmetric, 1 pixel, color #000000
70-Image - Add Borders - Symmetric, 5 pixel, color #ffffff
71-Image - Add Borders - Symmetric, 1 pixel, color #000000
72-Image - Add Borders - Symmetric, 35 pixel, color #ffffff
73-Image - Add Borders - Symmetric, 1 pixel, color #000000
74-Put Your Watermarkt
75-Image – Resize – 900+550
Save JPEG


Hiç yorum yok:
Yorum Gönder