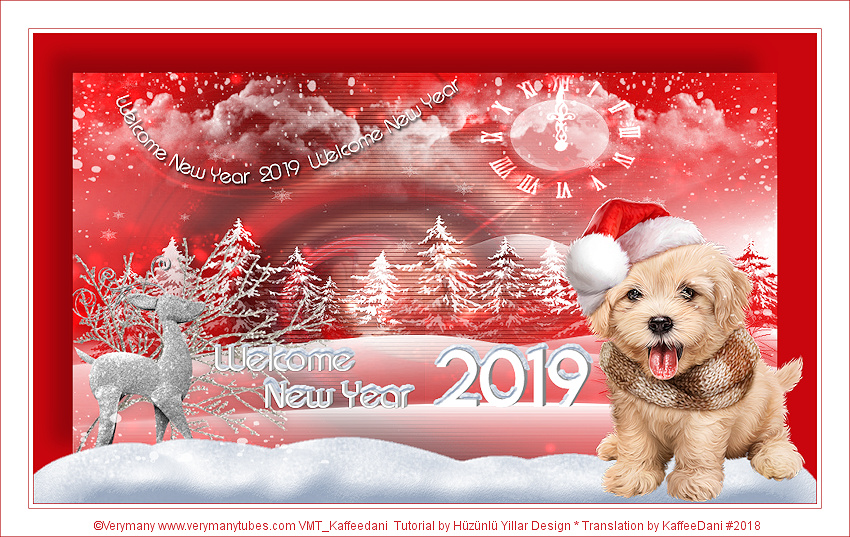
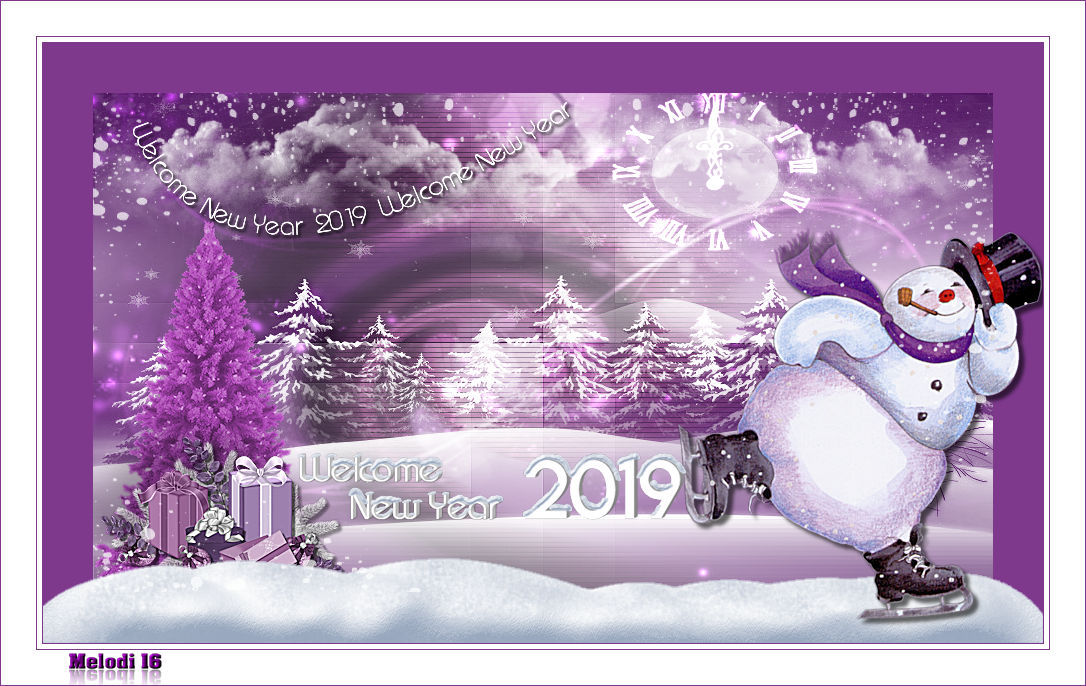
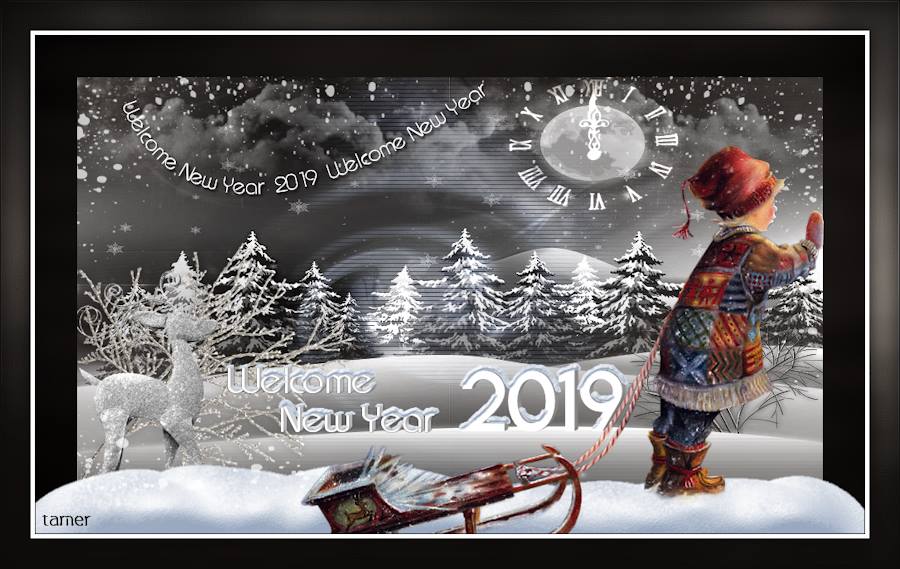
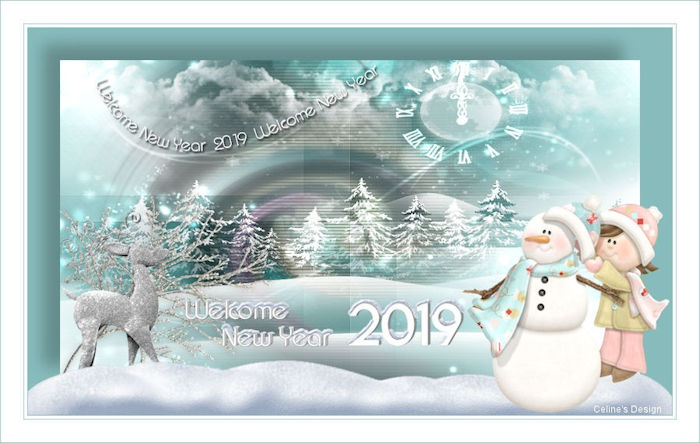
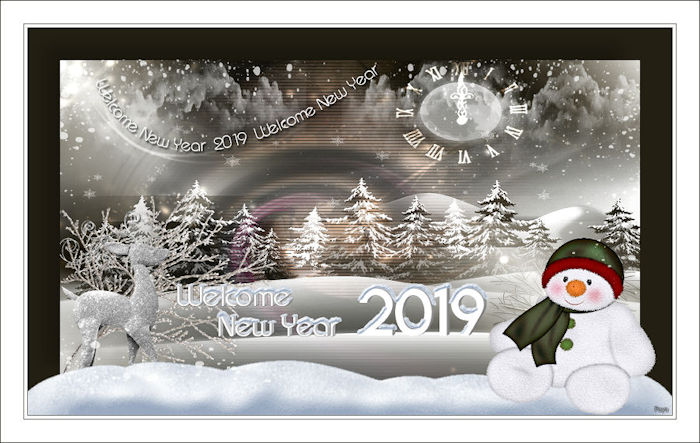
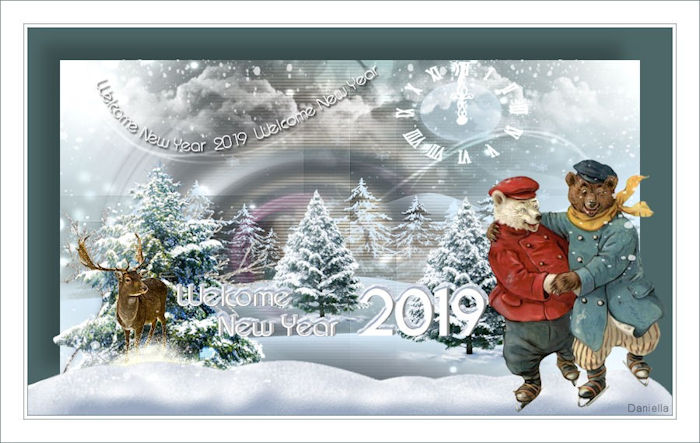
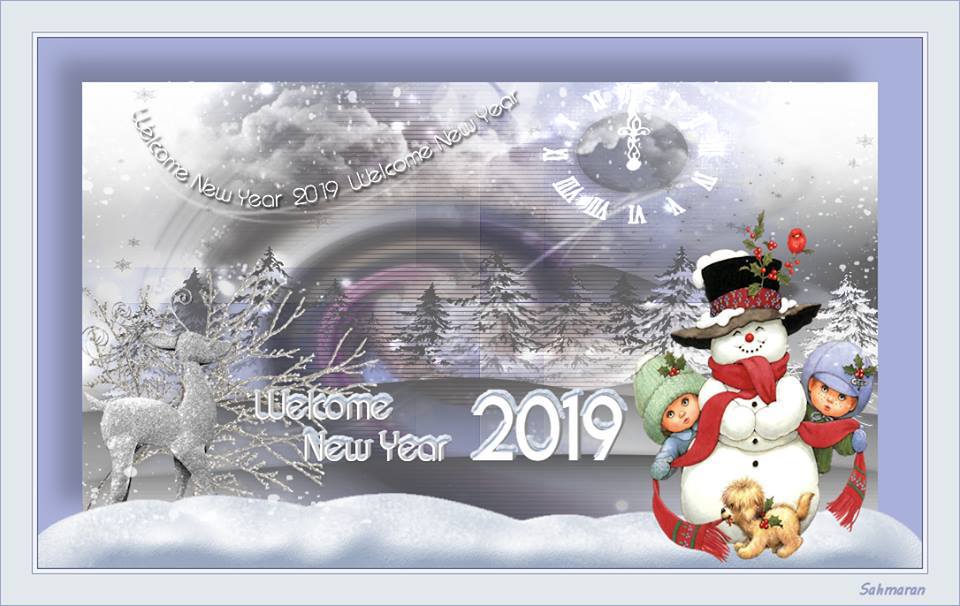
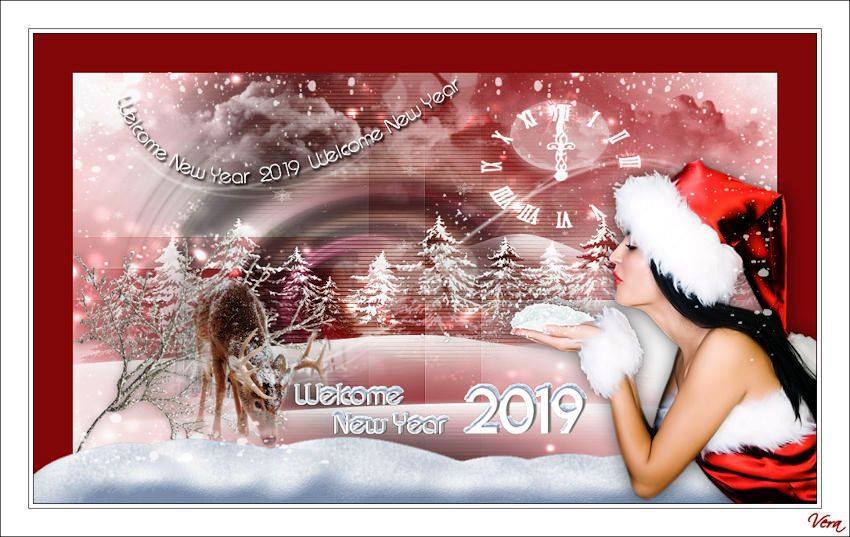
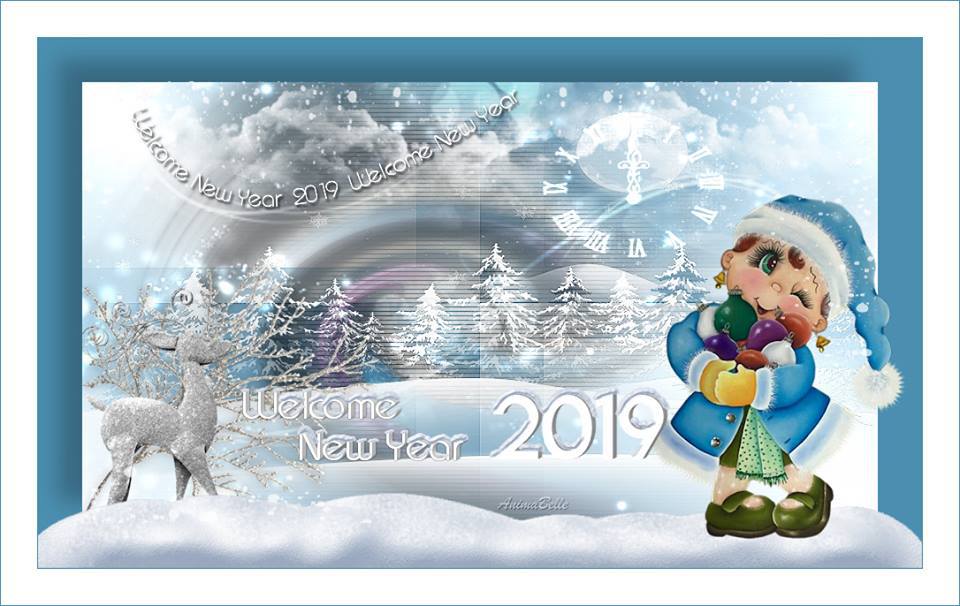
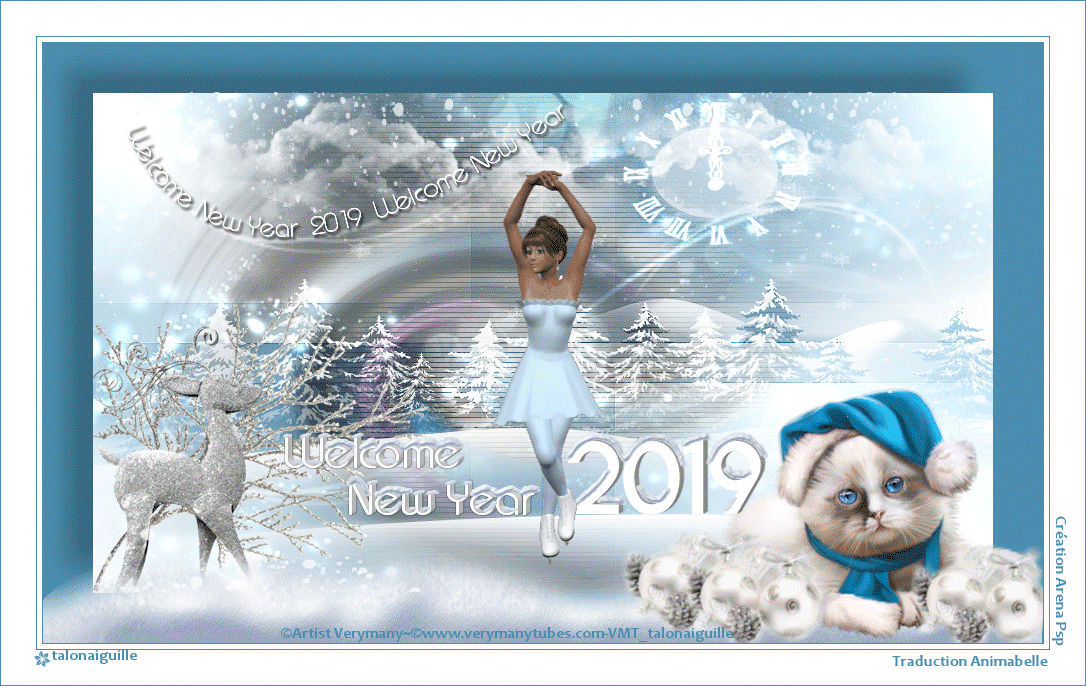
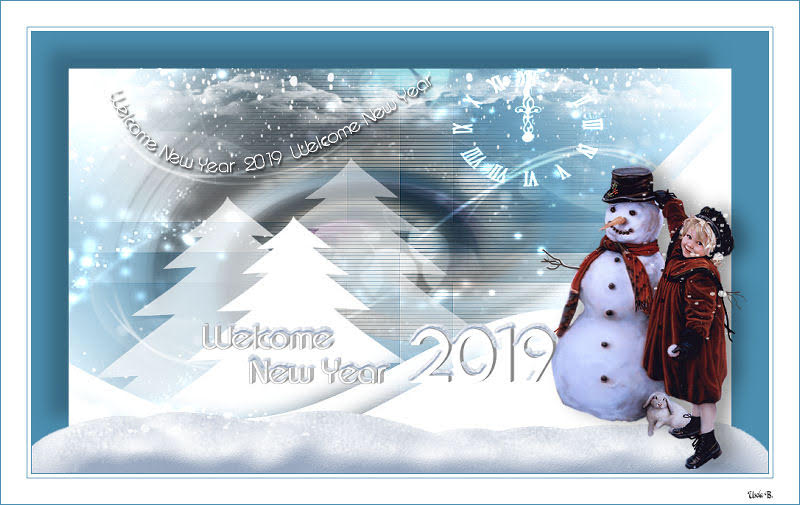
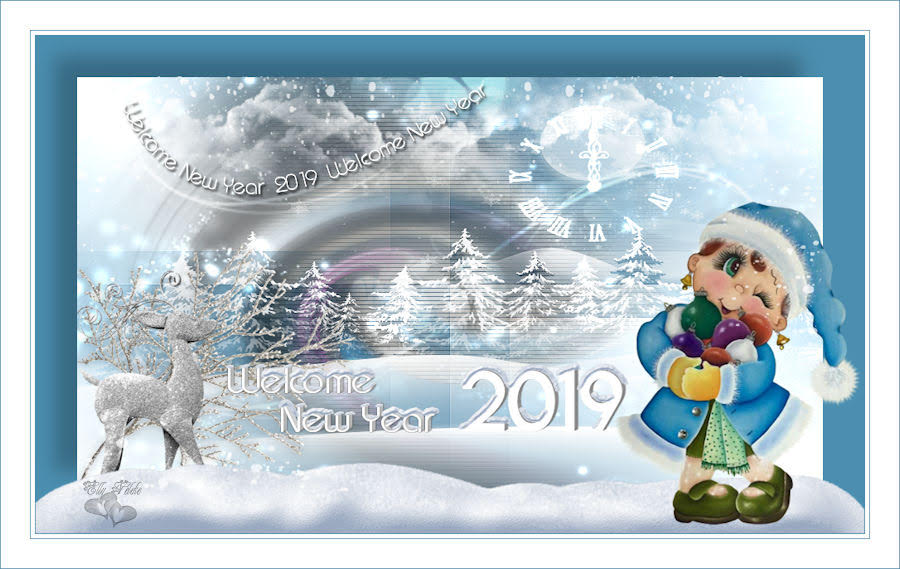
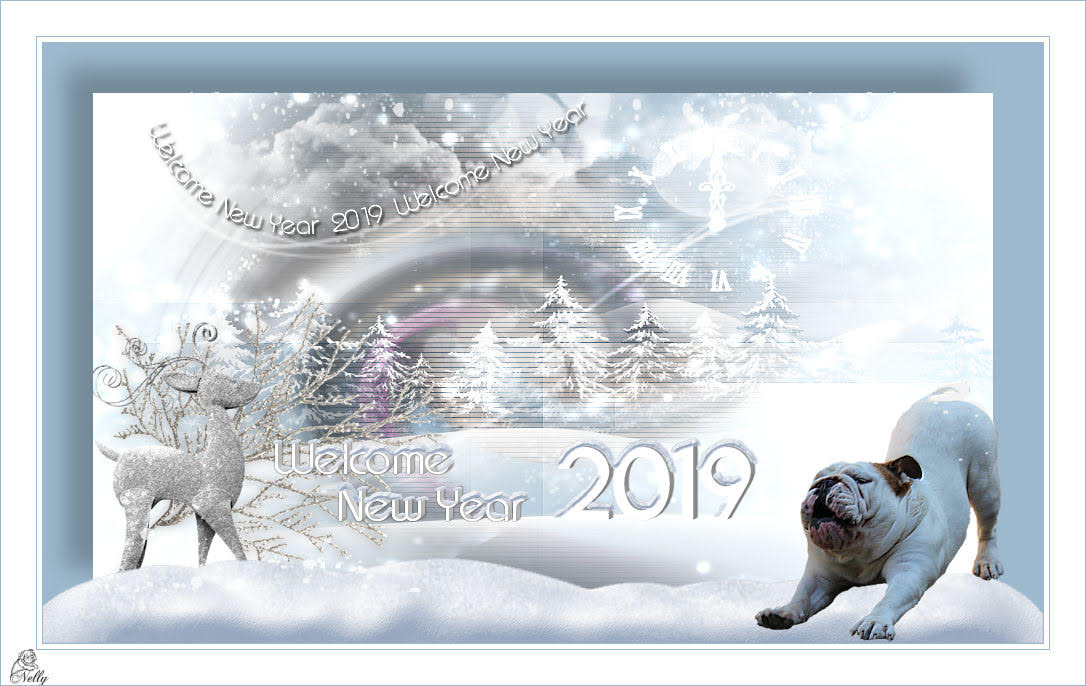
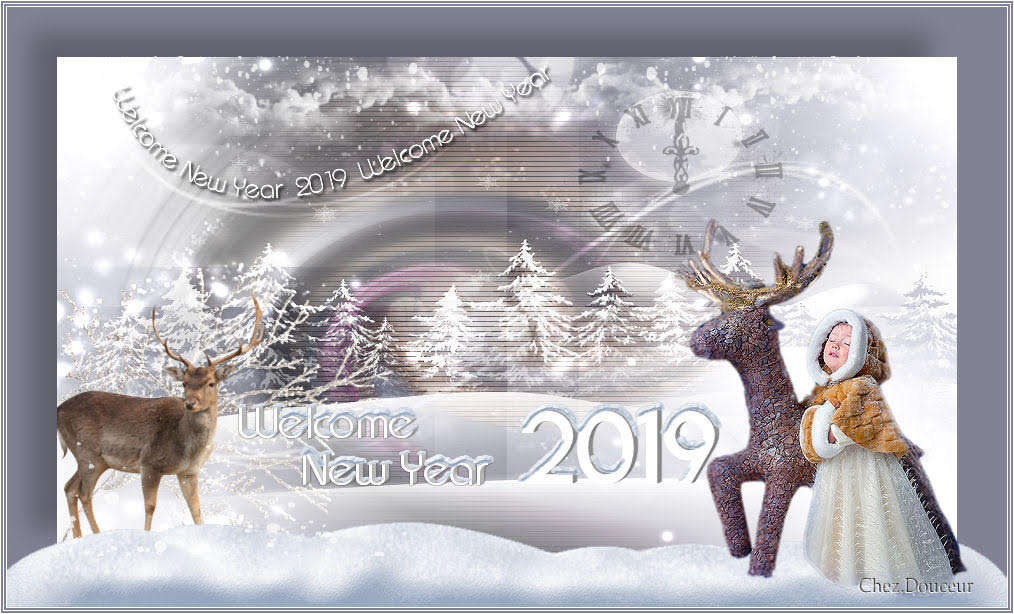
Welcome 2019
This tutorial is written in PSP x8
This tutorial is written in PSP x8
Tube
wieskes tube 689
Plugins
Simple - Half Wrap
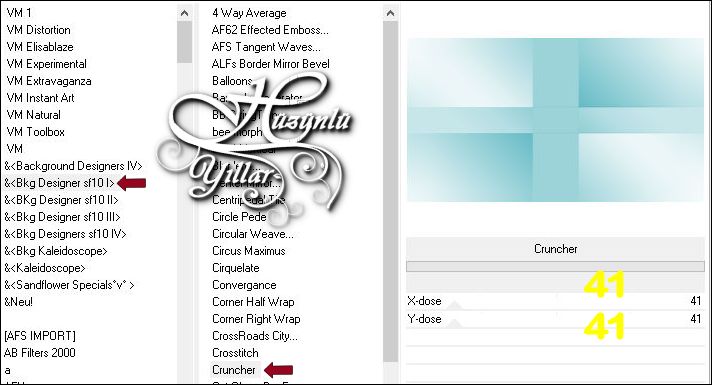
Filters Unlimited 2.0 - Bkg Designer sf10I - Cruncher
Alien Skin Eye Candy : 5 Nature - Snow Drift
Alien Skin Eye Candy : 5 Impact Perspective Shadow
Mask
Hüzünlüyıllar
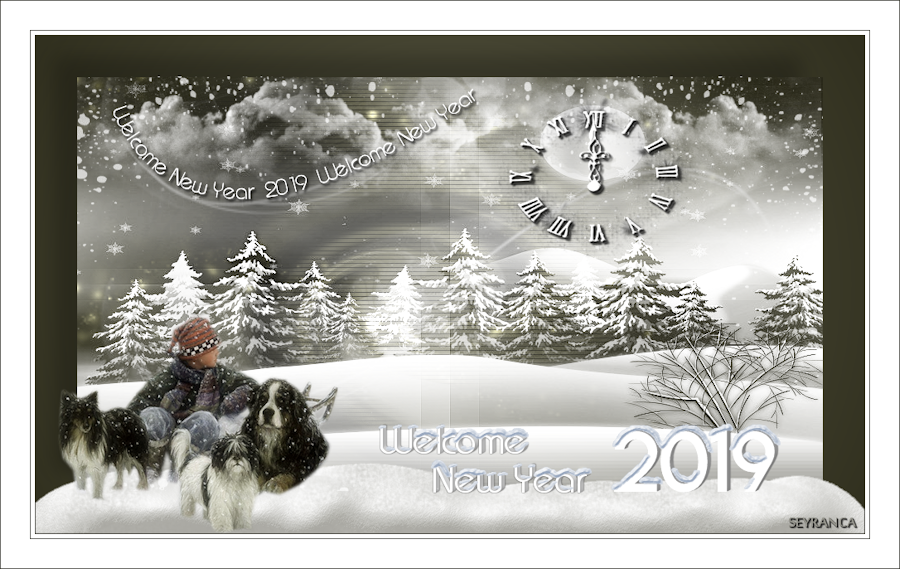
Text Seyranca
Preparation:
Choose a light and a dark color from your tube
Properties Foreground; set your Foreground color to #4b8eaf
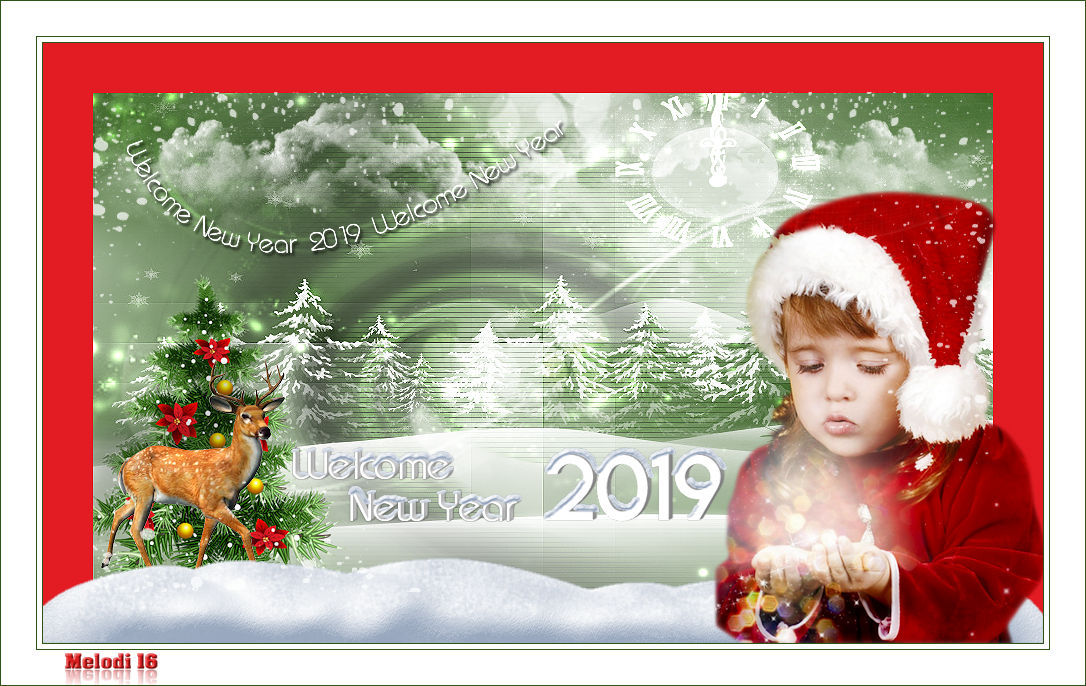
Properties Background; set your Background color to #FFFFFF
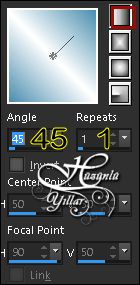
Properties foreground: Make a foreground- background Gradient of these two colors
#4b8eaf #FFFFFF #4bc4d3
Note: When working with your own colors, play with the Blend Mode and/or Opacity at your own discretion
1.File / New - Open 900 x 500 Transparent Image
Properties foreground: Make a foreground- background Gradient of the these two colors
2-Flood fill - Fill With your Gradient 
3-Effects - Simple - Half Wrap
4-Effects - Edge Effects - Enhance
5-Layers - Duplicate
6-Effects - Filters Unlimited 2.0 - Bkg Designer sf10I - Cruncher
Layer Palette - Double click on this Layer and set the Blend Mode to Multiply
7-Layers - Merge - Merge Visible
8-Open - Welcome 2019_Tube_Deko – Hy_Welcome 2019_Deko
Edit / Copy
Activate your work
9-Edit / Paste as New Layer
10-Layers – New Raster Layer
11-Flood fill - Fill With your Background Color #FFFFFF
12-Open - Welcome 2019_Mask - huzunluyıllar
13-Layers - New Mask Layer - From Image – huzunluyıllar
14-Layers - Merge - Merge Group
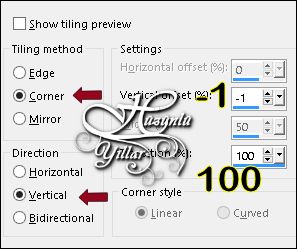
15-Effects - Image Effects - Seamless Tiling
16-Image - Mirror - Mirror Horizontal
17-Image - Mirror - Mirror Vertical
Layer Palette - Double click on this Layer and set the Blend Mode to Dodge
18-Layers – New Raster Layer
19-Flood fill - Fill With your Background color #FFFFFF
20-Open - Welcome 2019_Mask - huzunluyıllar_1
21-Layers - New Mask Layer - From Image – huzunluyıllar_1
22-Layers - Merge - Merge Group
23-Effects - Image Effects - Seamless Tiling
24-Selections - Load/Save Selections - Load Selection From Disk - Hy_Welcome 2019_Sell
Press The Delete Key On Your Keyboard
25-Seletions – Select None
Layer Palette - Double click on this Layer and set the Blend Mode to Overlay
26-Layers – New Raster Layer
27-Flood fill - Fill With your Background color #FFFFFF
28-Open - Welcome 2019_Mask - huzunluyıllar_2
29-Layers - New Mask Layer - From Image – huzunluyıllar_2
30-Layers - Merge - Merge Group
Not: Layer on Merged Adjust - Hue And Saturation - Hue/Saturation/Lightness - or adjust - Brightness and contrast - Curves If you want to play on the main color from here you can do.
31-Layers – New Raster Layer
32-Brus Tool
33-Look for / Hy_Welcome_2019_Brush
Place your brush with your foreground color WHITE [left mouse button] on your layer
34-Open - Welcome 2019_Tube_Deko – Hy_Welcome 2019_Deko_1
Edit / Copy
Activate your work
35-Edit / Paste as New Layer
36-Activate Pick Tooland  place it like this
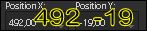
Layer Palette - Double click on this Layer and set the Blend Mode to Dodge
37-Open - Welcome 2019_Tube_Deko – Hy_Welcome 2019_Deko_2
Edit / Copy
Activate your work
38-Edit / Paste as New Layer
39-Activate Pick Tooland place it like this 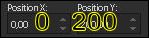
40-Open - Welcome 2019_Tube_Deko – Hy_Welcome 2019_Deko_3
Edit / Copy
Activate your work
41-Edit / Paste as New Layer
42-Activate Pick Tooland place it like this 
43-Edit - Copy Special - Copy Merged
44-File / New - Open 1000 x 600 Transparent Image
45-Flood fill - Fill With your Foreground Color #4b8eaf
46-Edit - Paste As New Layer
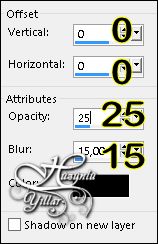
47-Effects - Alien Skin Eye Candy : 5 Impact – Perspective Shadow – Blurry -Hy_Welcome 2019_Pers Shadow
48-Layers - Merge - Merge Visible
49-Layers – New Raster Layer
50-Effects - Alien Skin Eye Candy : 5 Nature - Snow Drift - Hy_Welcome_2019_Snow Drift
51-Open _ Welcome 2019_Tube_Deko - wieskes tube 689
Edit / Copy
Activate your work
52-Edit / Paste as New Layer
53-Image - Resize %65
54-Move Tool - Place it with the Move Tool 
55-Open - Welcome 2019_Tube_Deko – Hy_Welcome 2019_Text
Edit / Copy
Activate your work
56-Edit / Paste as New Layer
57-Activate Pick Tooland place it like this 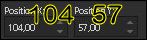
58-Open - Welcome 2019_Tube_Deko – Hy_Welcome 2019_Text_1
Edit / Copy
Activate your work
59-Edit / Paste as New Layer
60-Activate Pick Tooland place it like this 
61-Open - Welcome 2019_Tube_Deko – Hy_Welcome 2019_Deko_4
Edit / Copy
Activate your work
62-Edit / Paste as New Layer
63-Image - Add Borders - Symmetric, 1 pixel, color #4b8eaf
64-Image - Add Borders - Symmetric, 5 pixel, color #ffffff
65-Image - Add Borders - Symmetric, 1 pixel, color #4b8eaf
66-Image - Add Borders - Symmetric, 35 pixel, color #ffffff
67-Image - Add Borders - Symmetric, 1 pixel, color #4b8eaf
68-Put Your Watermark
69-Image – Resize – 900 pixels
Save AS JPEG


Hiç yorum yok:
Yorum Gönder